AI image generation at home with Stable Diffusion
Who needs Midjourney when you can do it with your laptop
One of the goals of this new wave of models and techniques released to the public is to democratise AI. Stable Diffusion is the leading example for image generation, and it can run on commodity hardware with pretty decent results.
Setup
The installation is very simple and I’ll skip the obvious details such as “install git” or “install python”.
Clone this repository: https://github.com/AUTOMATIC1111/stable-diffusion-webui.git.
Cd into the project’s root folder.
Launch
./webui.sh
That’s it. The command will open a browser pointing to http://127.0.0.1:7860/ and the fun can start.
Note: when running on a Mac, some obscure error may occur: “modules.devices.NansException: A tensor with all NaNs was produced in Unet.”. Forums and the project’s Github recommend adding
--disable-nan-checkto the command line but that’s nonsense. The error means that the processing met a NaN and disabling the check will result in “successful” empty images.The solution that worked for me is to add
--no-halfthat skips a piece of optional logic that fails on my machine.
How to generate the first image
It’s actually as simple as writing a prompt and hitting “Generate”, but I suggest doing an extra step first: in the field “seed” set “1” instead of “-1”.
“-1” means random, but it’s useful to have a consistent seed to do experiments. Actually, any number will work.
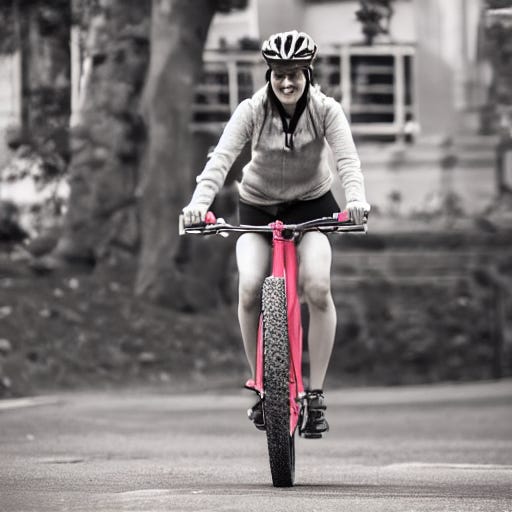
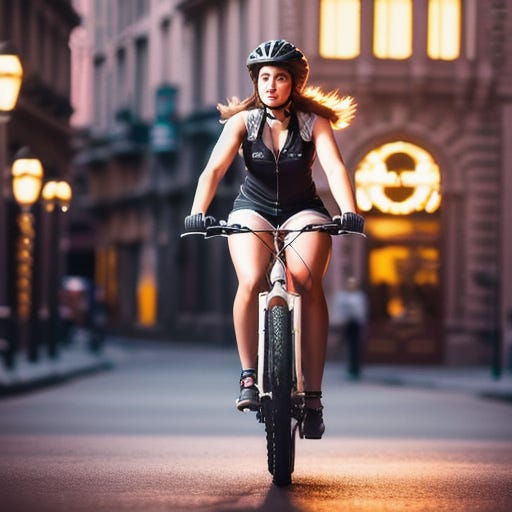
My first prompt is “A woman riding a bike”.
The result is not great.
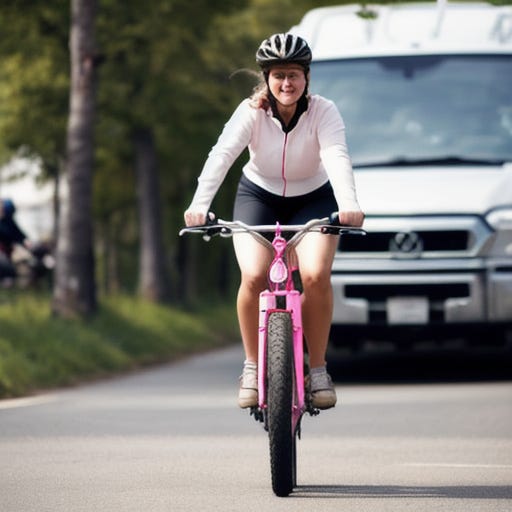
A good first step is to switch to a refined model. I’ll use Realistic Vision. Download, place the file in models/Stable-diffusion, and refresh. Select the new model from the top left drop-down menu, and retry.
It’s already much better.
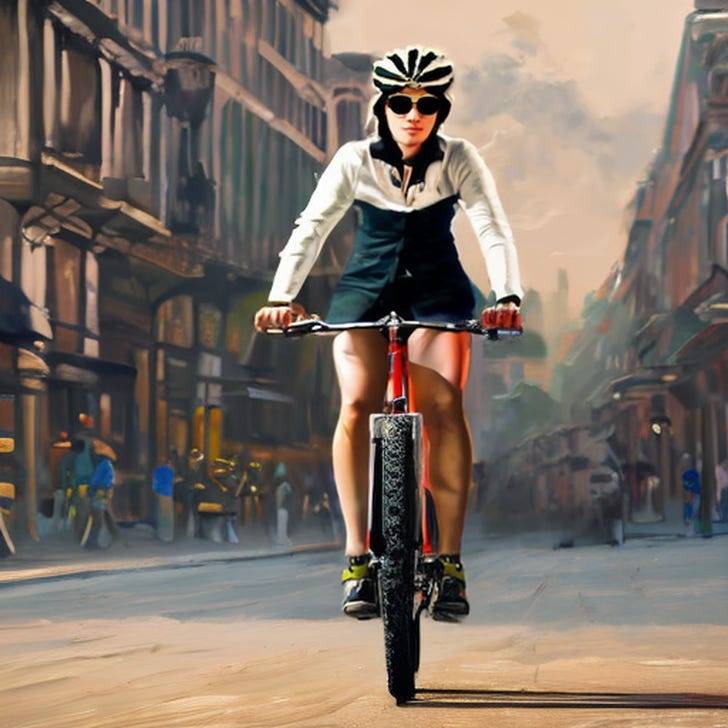
For the next step, I’ll add a medium (photography, painting), and some negative prompts: “Photography of a woman riding a bike” / “disfigured, ugly, bad”
The face is clearly not there yet, but it’s interesting to see what the model thinks of the opposite of my negative prompts.
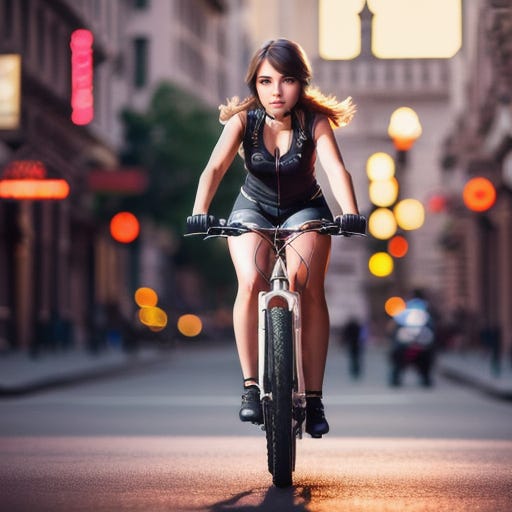
Next step: I’ll add “extremely detailed, ornate, cinematic lighting, rim lighting, vivid” to the prompt.
To refine the face, among the icons under the image, click on the colour palette to use the inpainting function.
Draw on the face to select the area to update, then select “Only Masked” under “Inpaint area“.
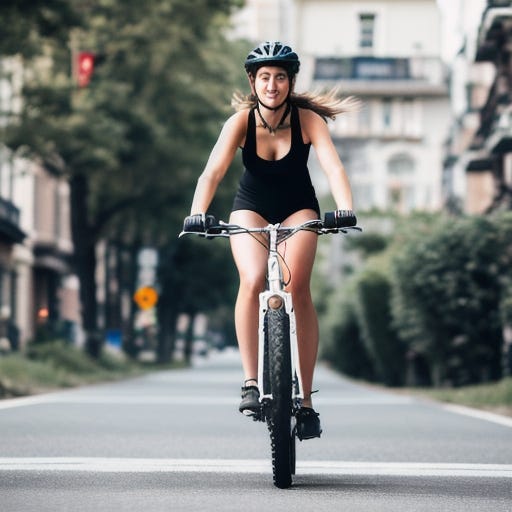
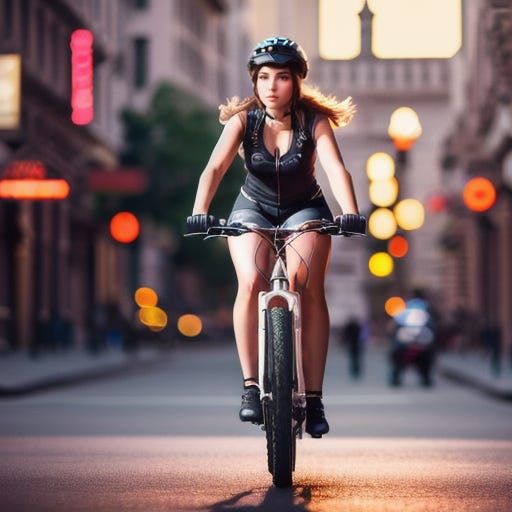
I change the prompt to “Photography of a pretty female face, extremely detailed, ornate, cinematic lighting, rim lighting, vivid”
Why does it work? When the model works on the whole picture, it has only a small area to work on the face, so the details will be missed. With inpainting, the model generates a face as big as the whole image and then squeezes it in place.
The result is promising, however it is disproportionate. Reducing the denoising strength help generate a more consistent image. I’ll reduce it to 0.5.
I am sure that Dall-E and Midjourney may generate better results, however, I suspect that Stable Diffusion will be more than enough for most people, especially considering that I just scratched the surface here. There are more methods to create better images with controlled results. Stuff for a future post.


